I am a DevOps Consultant. 3 years experience with Cloud technologies. 9 years total IT experience in the Linux, Networking and Data Visualization domains. Love listening to music and playing older PC games.
Introduction
This is Melvin C V, your Cloud Buddy. I am back after a long break with Week 4 of the #10weeksofCloudOps challenge! This project is meant to demonstrate my proficiency in containerization, orchestration, continuous integration, and continuous deployment (CI/CD) in a Kubernetes environment.
Containerization is a method of packaging software applications into standardized units called containers. Containers are lightweight, portable, and self-sufficient, making them ideal for deploying applications across different environments.
Orchestration is the process of managing the lifecycle of containers within a distributed environment. It streamlines the process of deploying, scaling, configuring, networking, and securing containers, freeing up engineers to focus on other critical tasks. Orchestration also helps ensure the high availability of containerized applications by automatically detecting and responding to container failures and outages.
Continuous Integration and Continuous Deployment (CI/CD) is a software development practice that enables developers to build, test, and deploy code changes to production quickly and safely. CI/CD pipelines automate the entire software delivery process, from code changes to production deployment, ensuring that code changes are thoroughly tested and validated before they are released to end-users.
Kubernetes is an open-source container orchestration platform that automates the deployment, scaling, and management of containerized applications. It provides a powerful and flexible platform for deploying and managing containerized applications at scale, making it an ideal choice for organizations looking to modernize their application infrastructure.
Solution
GitHub Code
melvincv/10weeksofcloudops-w4: CICD on Kubernetes (github.com)
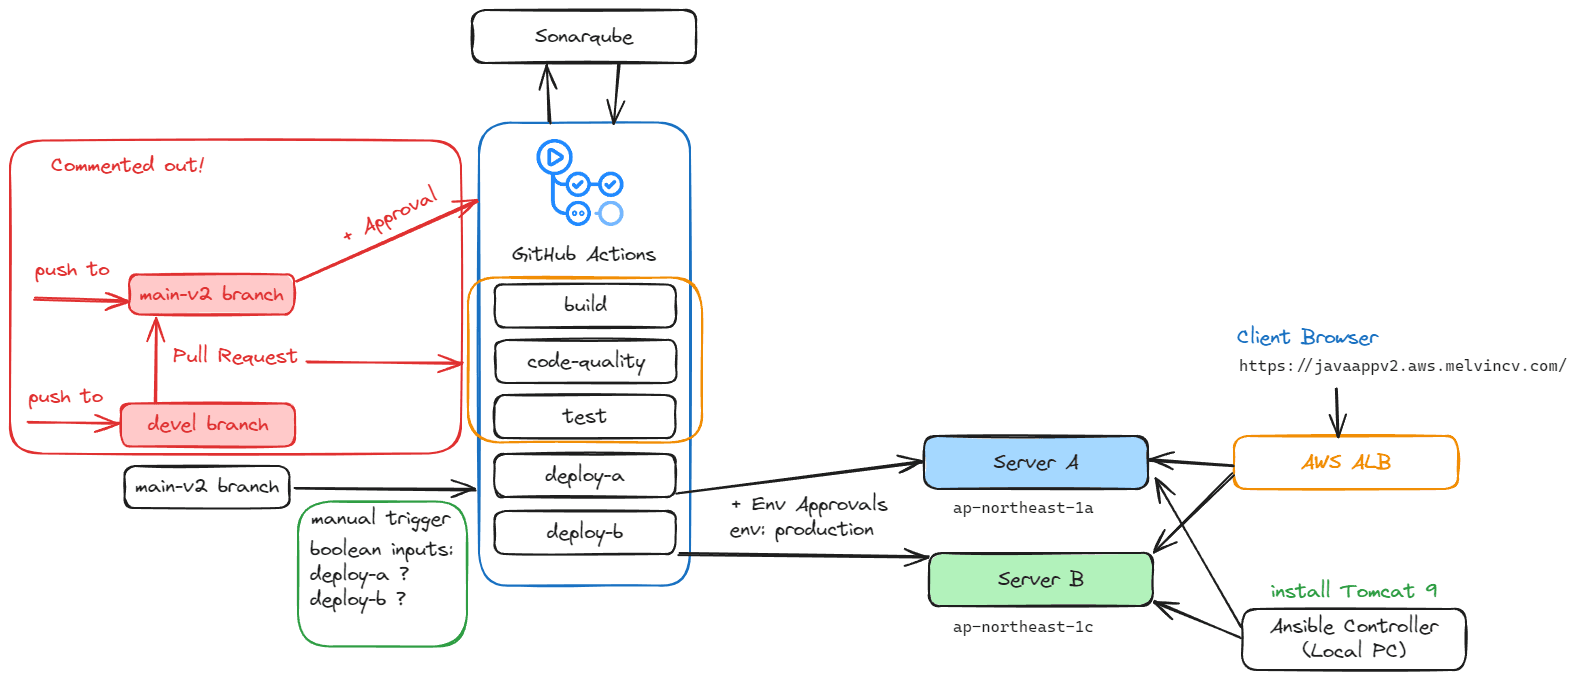
Architecture

Steps
Dockerize a Web Application
I started with the YouTube clone app by JS Mastery.
It is a Nodejs-based app that is a frontend to a hosted YouTube API. It gets videos from that API and displays them to the user.
Subscribe to the hosted API at Billing, Subscriptions And Usage | Rapid API Hub | Developer Dashboard
In my repo, go to
app/youtube-clone/.envand enter the value of your API key inREACT_APP_RAPID_API_KEYCheck out my Dockerfile at
app/youtube-clone/Dockerfile
# Multi-stage Dockerfile
# Stage 1
FROM node:16 AS builder
WORKDIR /app

COPY package*.json .
RUN npm ci

COPY . .
RUN npm run build

# Stage 2
FROM nginx:1.25
WORKDIR /usr/share/nginx/html
COPY --from=builder /app/build .
Multi-stage Dockerfiles are a way of organizing Dockerfiles to minimize the size of the final container, improve runtime performance, and provide a standardized method of running build actions.
With multi-stage builds, you use multiple FROM statements in your Dockerfile. Each FROM instruction can use a different base, and each of them begins a new stage of the build. You can selectively copy artifacts from one stage to another, leaving behind everything you don't want in the final image.
A multi-stage Dockerfile is used to first build the nodejs app using the node:16 image The build artifacts are then copied to an nginx based image from the previous image.
Build the final image using this Dockerfile and push it to Docker Hub:
docker build -t melvincv/ytclone .
docker login
docker push melvincv/ytclone

Provision a Kubernetes Cluster on GKE
Using Terraform to provision a multi-zonal GKE cluster with 2 node pools on Google Cloud:
You may check out my terraform code at tf-gcp-kubernetes
Creating the infrastructure...


...


Code Explanation
tf-gcp-kubernetes/1_main.tf
line numbers in brackets []
there are 2 blocks of code: terraform block and provider block
terraform block [8-19] is used to
store remote state in a Cloud Storage bucket called
melvincv2023-tf-cloudops-w4-devinitialize the Google Cloud provider
hashicorp/googlethat handles the provisioning of resources on Google Cloud by communicating with it's API's.the remote state enables a central storage for the state of the infrastructure created. This facilitates collaboration between team members via the storage of Terraform code in a git repo.
State locking is also used to prevent more than one person from modifying infrastructure at the same time.
provider block [2-5] is used to provide arguments to the
googleprovider.- project name and region
tf-gcp-kubernetes/2_vpc.tf
line numbers in brackets []
[2 - 8]: enable the compiute and container API's of GCP
[11 - 20]: create a regional VPC named
main[23-38]: create a subnet named
private1with variablesmain_cidrCIDR range of the VPCmain_cidr_sec1Secondary CIDR range 1 (for pods)main_cidr_sec2Secondary CIDR range 2 (for services)
tf-gcp-kubernetes/3_cloud-router.tf
- create a Cloud Router for use in Network Address Translation. Since you are creating a private k8s cluster, the nodes will need access to the Internet through a NAT router.
tf-gcp-kubernetes/4_nat.tf
[2-16]: create a NAT service in the Router we created earlier
- using attributes to refer to the router, private subnet and public IP
[19-25]: create an external IP address and bind it to the NAT service via
self_link
tf-gcp-kubernetes/5_firewalls.tf
- create a firewall named
allow-sshand associate it with the VPC
tf-gcp-kubernetes/6_kubernetes.tf
[2-54]: create a GKE cluster named 'primary'
[3-12]: specify the zone, remove the default node pool, specify the private subnet created earlier and set deletion protection to false.
[15-26]: add another zone to make it a multi-zonal cluster.
[19-26]: configure addons to GKE
enable k8s services to create Load balancers on GCP via the "HTTP (L7) load balancing controller"
disable horizontal pod autoscaling
[28-34]
set the release channel of Kubernetes to REGULAR. Other options include RAPID and STABLE
set the workload identity
[36-45]
set the pod CIDR and service CIDR that we defined earlier
enable the creation of private VPC nodes and enabled access to the cluster through both private and public endpoints
set the CIDR for the hosted master node network, must be /28
tf-gcp-kubernetes/7_node-pools.tf
[2-4]: create a service account named 'kubernetes'
[7-32]: create a standard node pool that contains nodes of a particular config
set the node count to 1. since it is a multi zonal cluster, this will actually create 1 node in each zone. (disabled)added autoscaling with a min. of 0 nodes and max. of 2 nodes
set auto repair and auto upgrade to true
set machine type, disk size via variables, set disk type to balanced (standard SSD)
add labels, specify service account and oauth scopes
[34-67]: create a spot node pool (much cheaper, uses spare capacity on GKE and can be terminated to make resources available to standard nodes)
similar to the standard node pool, adding autoscaling to a max. of 5 nodes.
set the spot instance type via variable
tf-gcp-kubernetes/8_serviceaccount.tf
[2-4]: add a service account called
service-aand[7-11]: give the service account the role (permission) of "Storage Admin"
[14-18]: give the service account the role of "workloadIdentityUser"
tf-gcp-kubernetes/terraformvars
rename this file to terraform.tfvars and fill in the values for the variables.
tf-gcp-kubernetes/variables.tf
Variable definitions and descriptions
tf-gcp-kubernetes/9_outputs.tf
output the id and endpoint of the cluster
Connecting to the K8s cluster using WSL2
Install the gcloud CLI on Ubuntu on WSL2:
Install the gcloud CLI | Google Cloud CLI Documentation


Kubernetes Manifests
kubernetes-manifests/1_ns.yml: Creates a Namespace called yt-clonekubernetes-manifests/2_deployment.yml: Creates a Deployment with 2 replicas of the yt-clone podkubernetes-manifests/3_service.yml: Creates a Service with the yt-clone pods as Endpointskubernetes-manifests/4_ingress.yml: Creates an Ingress object for the NGINX ingress controller (which needs to be installed on the cluster first)kubernetes-manifests/README.md: Instructions to install the Ingress controller and bring up the app.
What is ArgoCD?
Argo CD is a declarative continuous delivery tool for Kubernetes that can be used as a standalone tool or as part of your CI/CD workflow to deliver needed resources to your clusters. It enables developers to manage both infrastructure configuration and application updates in one system.
Argo CD offers manual or automatic deployment of applications to a Kubernetes cluster, automatic synchronization of application state to the current version of declarative configuration, web user interface and command-line interface (CLI), ability to visualize deployment issues, detect and remediate configuration drift, role-based access control (RBAC) enabling multi-cluster management, and support for webhooks triggering actions in GitLab, GitHub, and BitBucket.
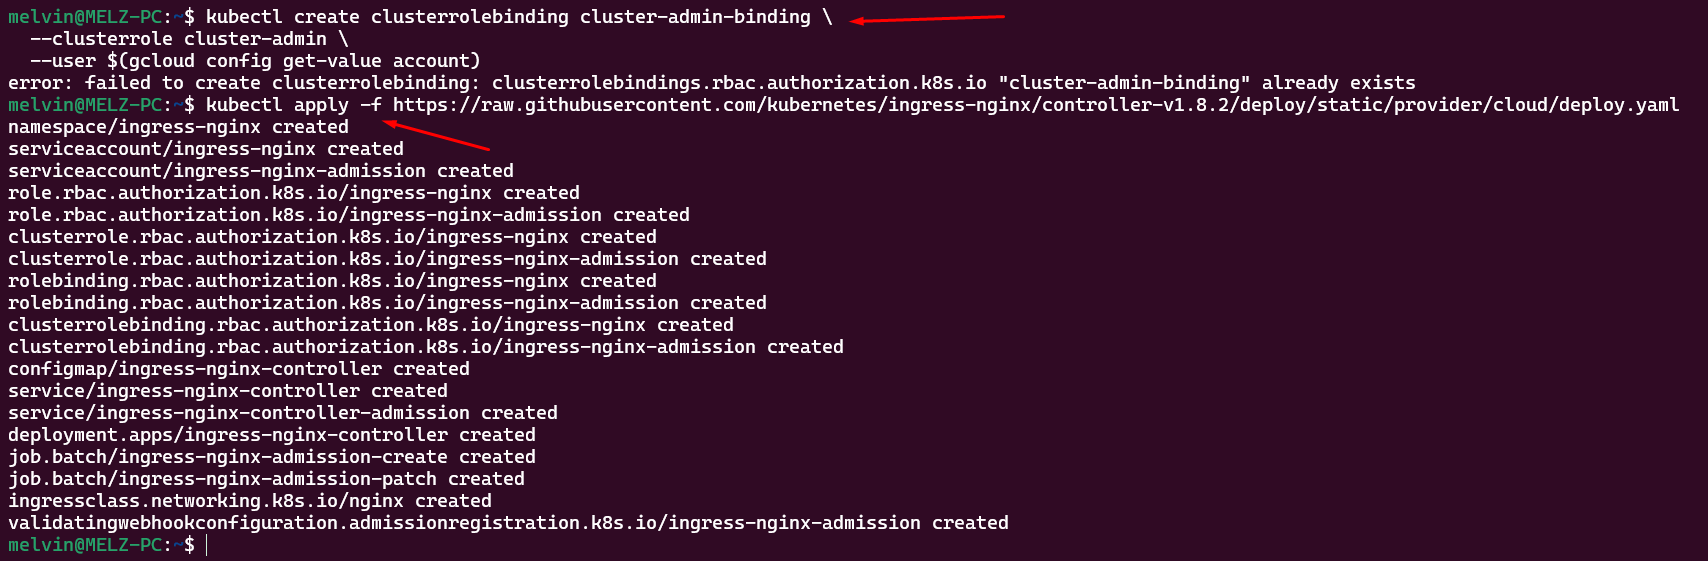
Install the NGINX ingress controller
kubectl create clusterrolebinding cluster-admin-binding \
  --clusterrole cluster-admin \
  --user $(gcloud config get-value account)
kubectl apply -f https://raw.githubusercontent.com/kubernetes/ingress-nginx/controller-v1.8.2/deploy/static/provider/cloud/deploy.yaml
Install ArgoCD

...


Access the API Server on your PC using kubectl port-forward

Access the UI from your browser: https://localhost:10000/
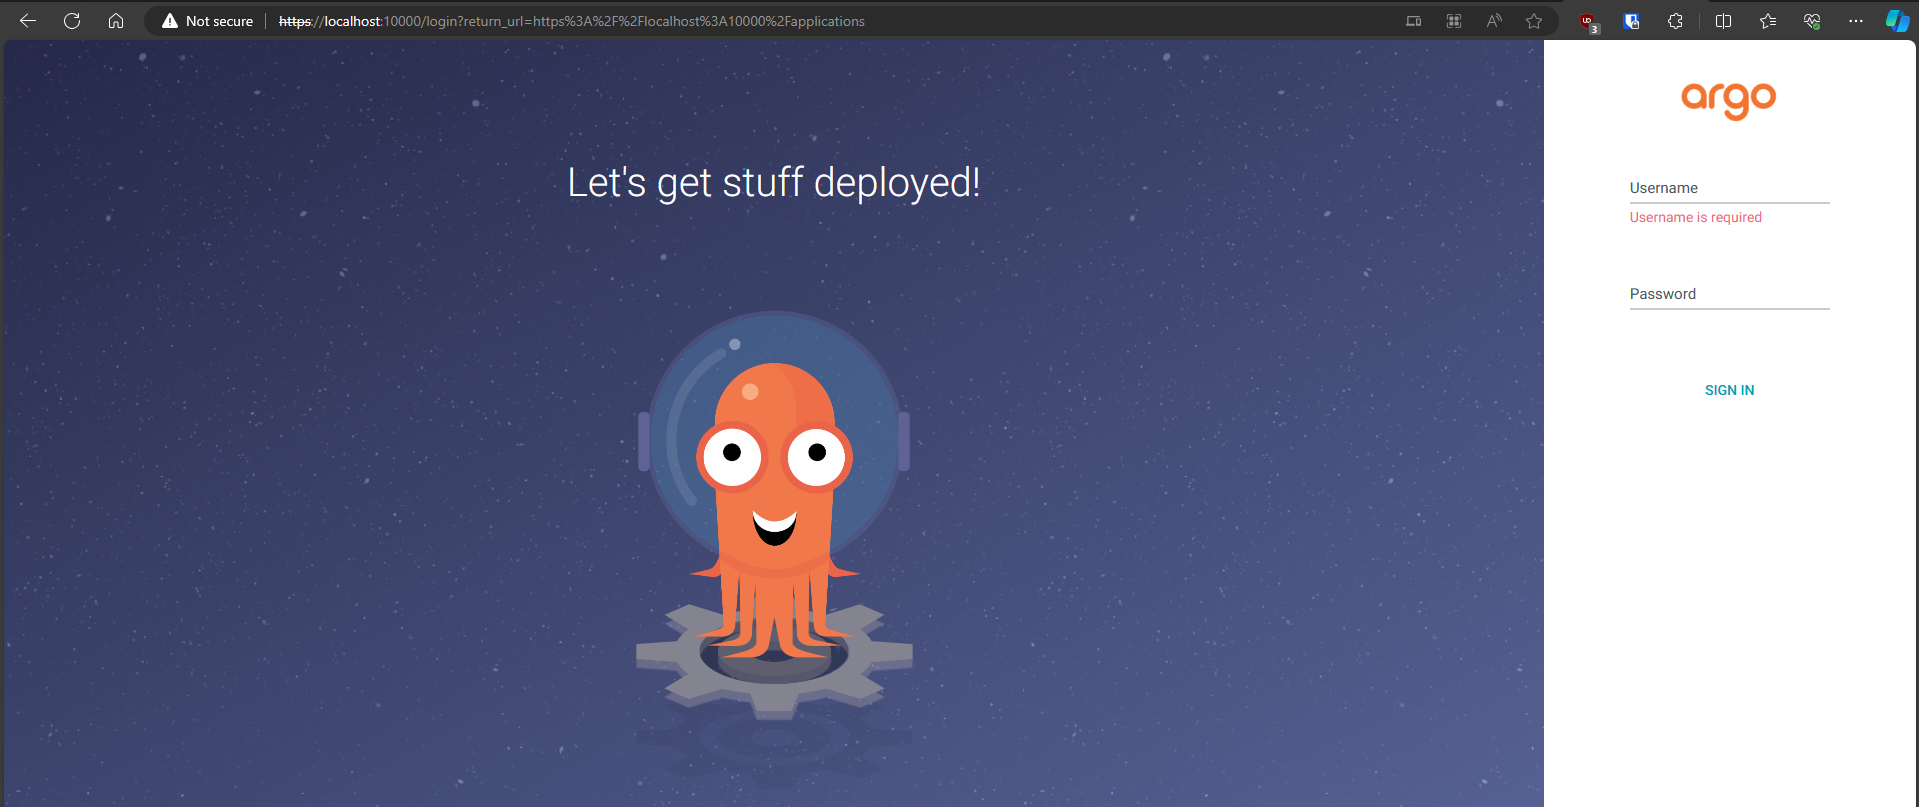
User: admin
Password: get it from the secret: argocd-initial-admin-secret
argocd admin initial-password -n argocd
Log in using the CLI and change the admin password asap...

Log in to the GUI:

Create an Application for your Git repo that you intend to deploy into Kubernetes.
An application in ArgoCD is a collection of Kubernetes-native manifests that make up all the pieces of your application. It is a Custom Resource Definition (CRD) used to define an application source type. ArgoCD is a Kubernetes-native continuous deployment tool that can pull updated code from Git repositories and deploy it directly to Kubernetes resources. It enables developers to manage both infrastructure configuration and application updates in one system.

Enter the App details...

Enter your repo and path to the manifests or Helm chart...

For deploying to the same cluster to which ArgoCD is installed, give the default...
https://kubernetes.default.svc


It takes some time to create the app for the first time...


Get the ingress details for k8s
k get ing -n yt-clone

Connect the domain to the IP using your DNS provider.
Mine is on Cloudflare, so I added an A record for ytclone.gcp.melvincv.com pointing to the IP of the Load balancer created by the NGINX ingress controller, which would be the same IP of the Ingress above.

And finally, you get your Youtube Clone site!

Pod logs show that the requests are reaching the pods:

Conclusion
This article highlights the benefits of containerization, GitOps for deploying applications and the role of orchestration in managing container lifecycles. Melvin explains how he used Docker, Kubernetes, Terraform, and ArgoCD to create a modern and scalable application infrastructure.